Trial Assembly and
Tests
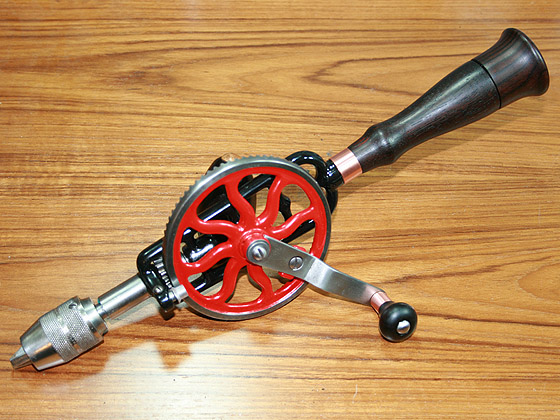
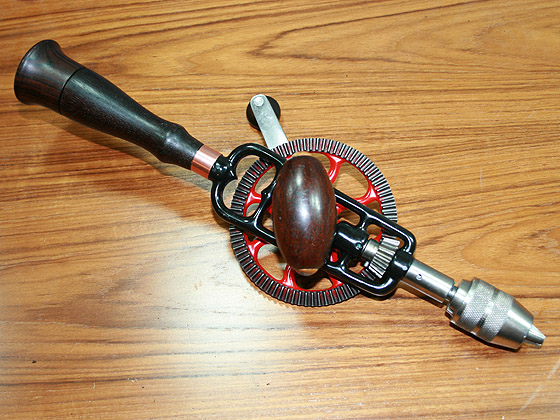
With all parts ready,
we will assemble the drill completely, including main and side
handles to test the performance. At this stage the main
handle is still not installed permanently. I want to make
sure that after trial assembly and if need be, I will be able to
take the drill completely apart to make any needed adjustments.


So... here it is! Ready for a trial run.
Summary
To compress this long elaboration, here is the summary:
Advantageous Design Elements
-
Very good
machining overall - precise fit of all parts.
-
Casting of the
frame includes handle bolt and gear shaft all as one piece.
-
Main gear includes
leveraging "hook" for crank handle.
-
Ball bearing
includes 7 balls - largest number ever used.
-
Main handle
attached to the frame with great precision.
-
Exotic wood used
on all handles.
-
Overall excellent
visual appearance.
Before we go to a
final showing...
My learning about the
construction of Miller Falls drills was guided by
excellent website of Randy Roeder and
analytical reviews of Millers Falls drills by George
Langford, tireless hunters of old tools selling drills on eBay,
and help and encouragements of many friends.
In particular, I would
like to thank James D. Thomson, a contributor of many articles
on restoration of tools on this website, Scott and Kitty Grandstaff for
being always ready to pick up the phone when I needed advise,
Roy Griggs for help with turning replacement handles, and Johnny Kleso for lending a hand with some work in metal.
And lastly, my thanks
go to Chris Schwarz for willingness to review my restoration
work and words of encouragement.